Import Dataset
Before you can run a scenario that requires access to a dataset, you must import it into an existing project. First, if you did not already, create a project (see procedure above).
From the project view page
- Login into https://rcf.risis.io.
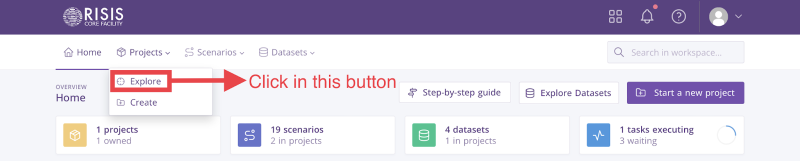
- In the top menu, go to ‘Projects’ and select ‘Explore’.
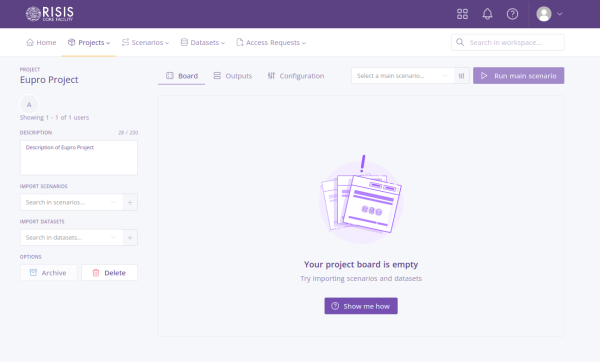
- The system will show all your projects, click on the title of the project that you want. In this example, it will be ‘Eupro Project’.

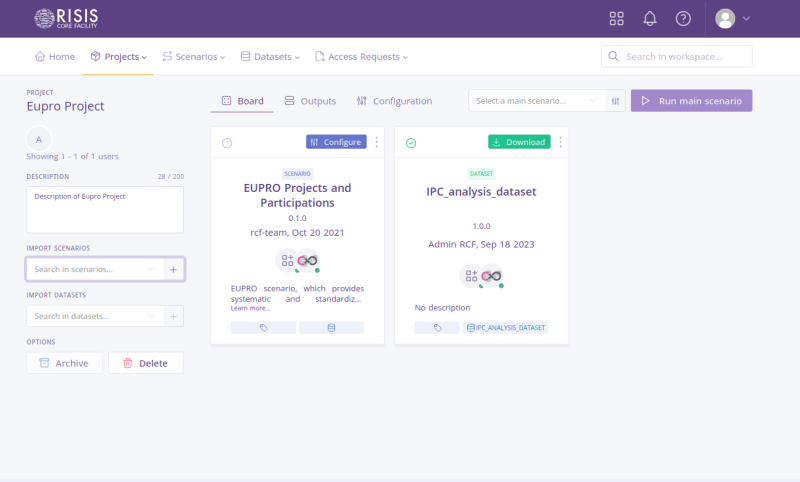
- Now, in the left part of the project view, you will see the title, description, and some buttons to save, delete, or archive. At the same time, you will see in the right section a grid of the datasets and scenarios already imported (in this case, none so far). To import a new dataset, click on the section ‘Import dataset’.
- You can search a specific dataset. Then, select one of them.
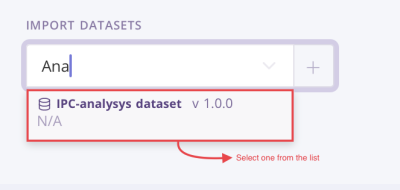
- Click on the ‘+’ button at the right.

- The dataset is imported successfully into the project.

From the list of datasets on page
- Login into https://rcf.risis.io.
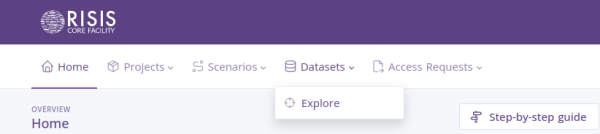
- In the top menu, go to ‘Datasets’ and select ‘Explore’.
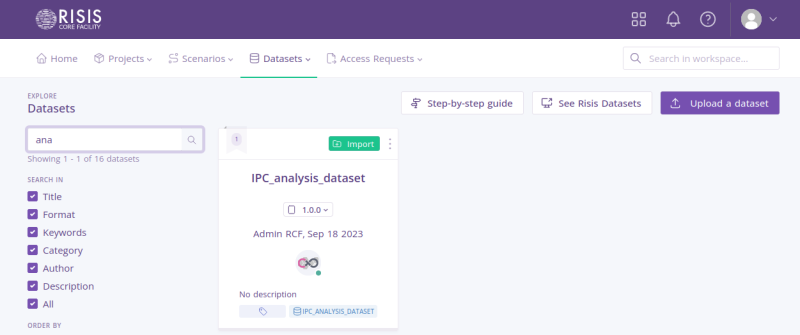
- The system will show a list of datasets. Search the dataset that you want to import and click on the ‘import’ button located at the top of each card.
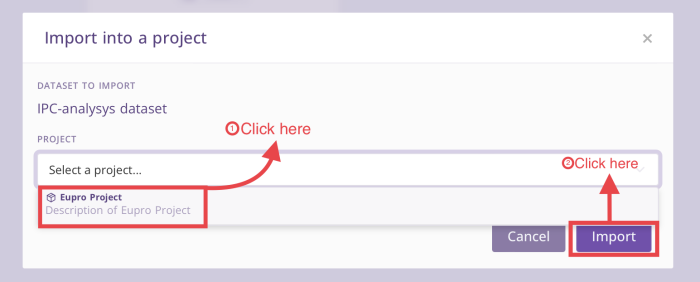
- A modal will open showing the title of the dataset and an input field to search and select the project where the dataset will be imported. After selecting, click on the import button.
- The system will redirect you to the project profile with the new dataset imported successfully.